Ultrasonic Leaching
 Mineral Separation Lab
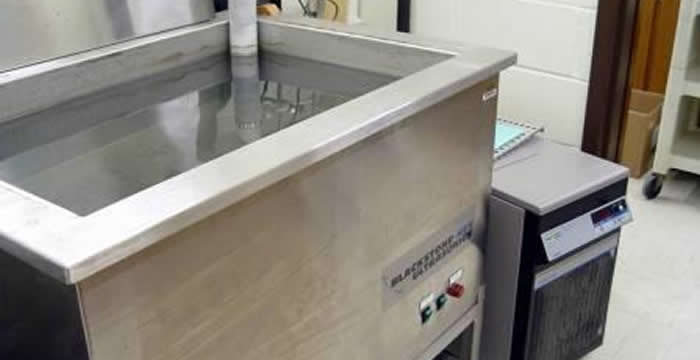
The ultrasonic tank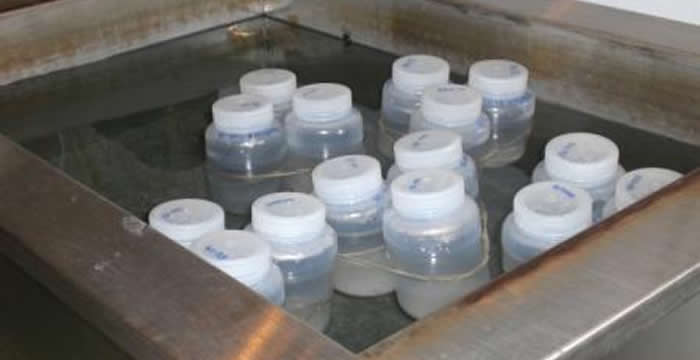 Mineral Separation Lab
The bottles in the ultrasonic tank.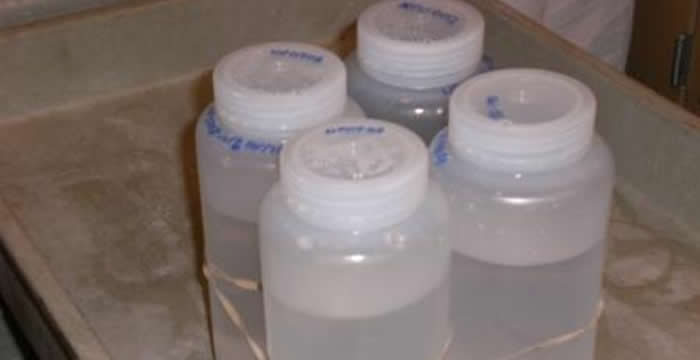 Mineral Separation Lab
The bottles that go into the ultrasonic tank should be wrapped together by a rubber band in groups of 3-4. If bottles of 3-4 are not available, there should be a mock bottle still in the group, filled with just water. The bottles should be filled 3/4 of the way full and properly labeled. Filler image
The utltrasonic tank is used for the final leaching process, we use this for two reasons:
- The grain surface of the quartz may not be entirely clean after bottle leaching.
- The ultrasonic tank rids the sample of any trace heavy liquids.
Procedure
Note: Hydrofluoric acid is very dangerous. If a small amount is splashed on the skin, rinse it off, then rub in calcium gluconate, which is stored on the wall to the left of the hydrofluoric acid jug. For large amounts, also call 911. Be sure to label each bottle: "(sample name) in 1% HF/HNO3."
- Make sure that the ultrasonic tank contains enough water that the hole is submerged. If not, add deionized water until the tank is filled up 1 inch past the hole.
- Fill the PP bottle containing your sample with .75 liter of 1% hydrofluoric acid/nitric acid solution. Place the bottle in the tank.
- We use only polyproplyene bottles in the ultrasonic tank. If polyethylene bottles are placed in the ultrasonic tank, imperfections in the bottle can cause the bottle to rupture.
- Turn on both green switches next to the red light on the lower part of the ultrasonic tank, the water circulation propeller, and the chiller unit. Let the unit run overnight.
- Rinse sample after the first day with 1 liter pure water, refill with acid solution and leach over night.
- Rinse sample with three liters pure water and place in oven to dry.