Leaching
 Mineral Separation Lab
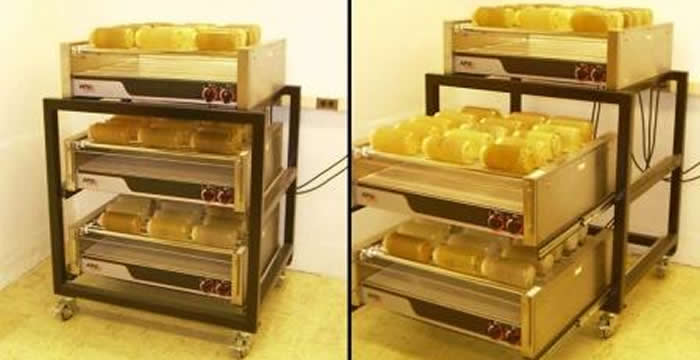
Bottle roller units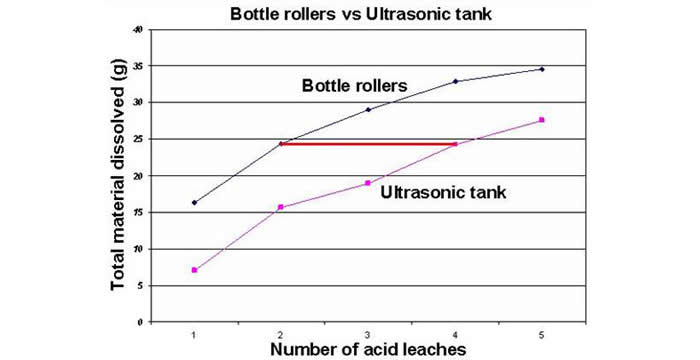 Mineral Separation Lab
The difference between the amount of material dissolved in the bottle rollers versus the ultrasonic tank is shown in the graph above.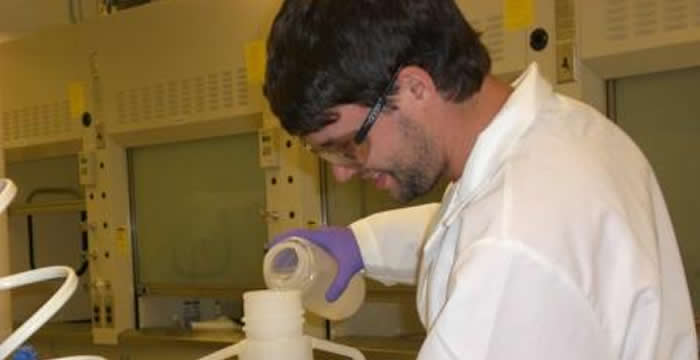 Mineral Separation Lab
Pour the waste acid into the disposal container.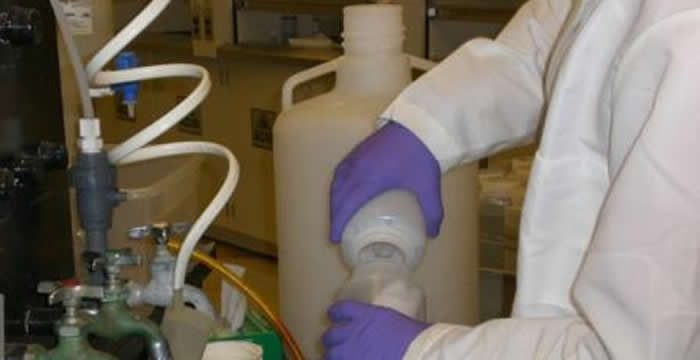 Mineral Separation Lab
Rinse the bottle with pure water. Mineral Separation Lab
Swish the deionized water around in the bottle and make sure the quartz settles to the bottom before decanting into the waste container. Filler image
The purpose of leaching is to dissolve the outer layers of the quartz grains with 5% nitric/hydrofluoric acid in order to rid the sample of meteoric 10Be and accessory minerals.
Procedure
Note: Hydrofluoric acid is very dangerous. If a small amount is splashed on the skin, rinse it off, then rub in calcium gluconate, which is stored on the wall to the left of the hydrofluoric acid jug. For large amounts, also call 911. Be sure to label each bottle "(sample name) in 5% HF/HNO3."
- Decide how much sample to put in each Nalgene bottle. Sixty to eighty grams is customary; up to 100 grams can be used, but additional leaching may be necessary.
- Use only High Density Polyethylene bottles. Polypropylene bottles tend to leak. Weigh each of the clean, dry bottles, and label them with “(sample name) in 5% HF/HNO3“ on the top of the bottle, and around the rim of the bottle. Use a blue Sharpie brand permanent marker to write on the bottles. If acid is spilled on the blue marker, it will turn the writing green.
- Record the mass of each bottle.
- Pour equal amounts of rinsed, soaked, magnetically separated sample into each bottle. Save any extra in a sample bag.
- Fill each bottle with .75 L of 5% hydrofluoric acid/nitric acid solution. Tighten the bottle lids as far as possible.
- If you are the last person to use the lab on a given day, refill the hydrofluoric acid/nitric acid carboy. See step: Refilling the hydrofluoric acid/nitic acid (PDF) carboy.
- Put the bottles on the bottle rollers at a heat setting of six. Be careful with the temperature control -- eight or higher will melt a Nalgene bottle.
- Let the bottles sit on the rollers overnight.
- In the fume hood, pour the acid into a waste carboy. Fill the bottle about one-quarter full with pure water, swish the water around, and pour it into the waste carboy. Do this three or four times, using a liter of pure water per bottle. Check the labels on the bottles, and touch them up where necessary.
- Neutralize the waste acid.
- Repeat steps 6 through 10 twice.
- Rinse the bottles a second time, this time pouring the waste water into the fume hood drain. Flush the drain with tap water.
- Put the un-capped bottles in the oven at ~90 deg. C overnight.